
Building a Serverless Image Resizer
25 Jul 2017Today we are going to explore a little bit of the AWS Lambda environment by building an Image Resizer. It will use a AWS S3 bucket as the source event, manipulating any image uploaded to it and saving the resized one in another bucket. First, everything will be done manually, using even the code editor available in Lambda, and we will finish by automating the package and deploy with Zappa. I assume you already have an AWS account and some basic knowledge of they services.
The Ingredients
For this recipe, you will need two AWS buckets, let’s call them my-resizer and my-resized. This names are probably already taken (by me), so you have to be creative here. The my-resizer will be our source – where we upload the files – and my-resied will keep our resized images.
Baking a Function
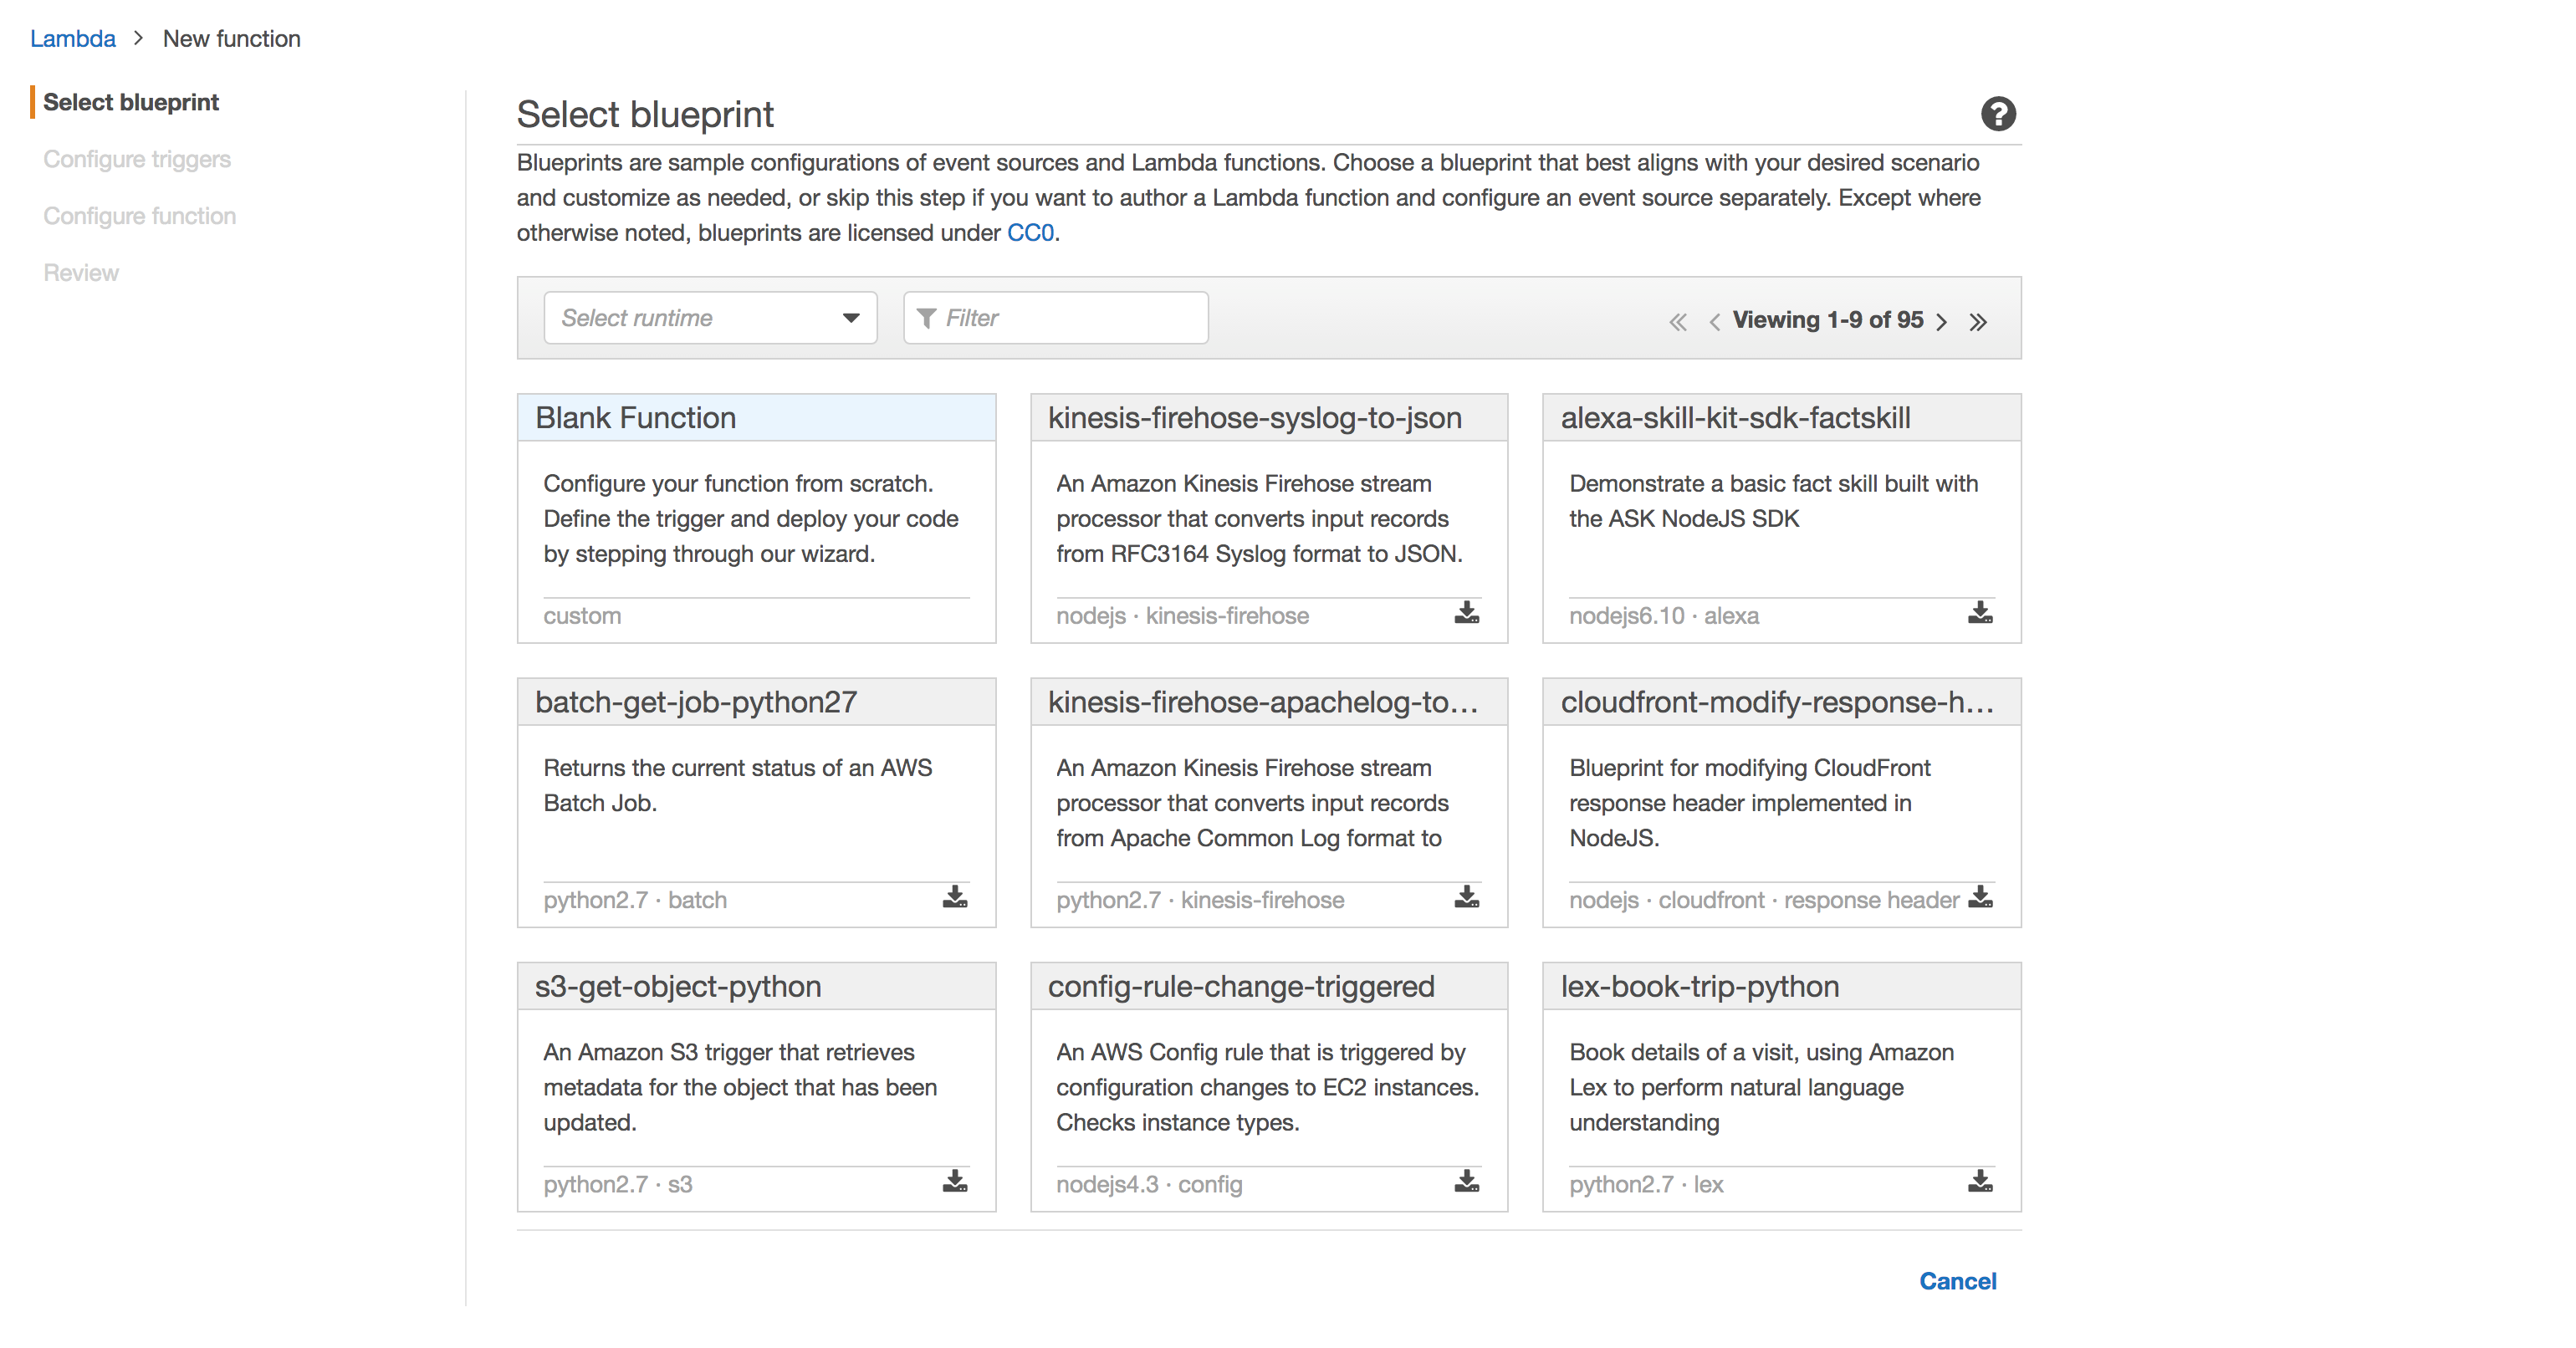
Before coding our Resizer, let’s take a look at what AWS Lambda has to offer by default. Go to the home page and select the Blank Function blueprint.
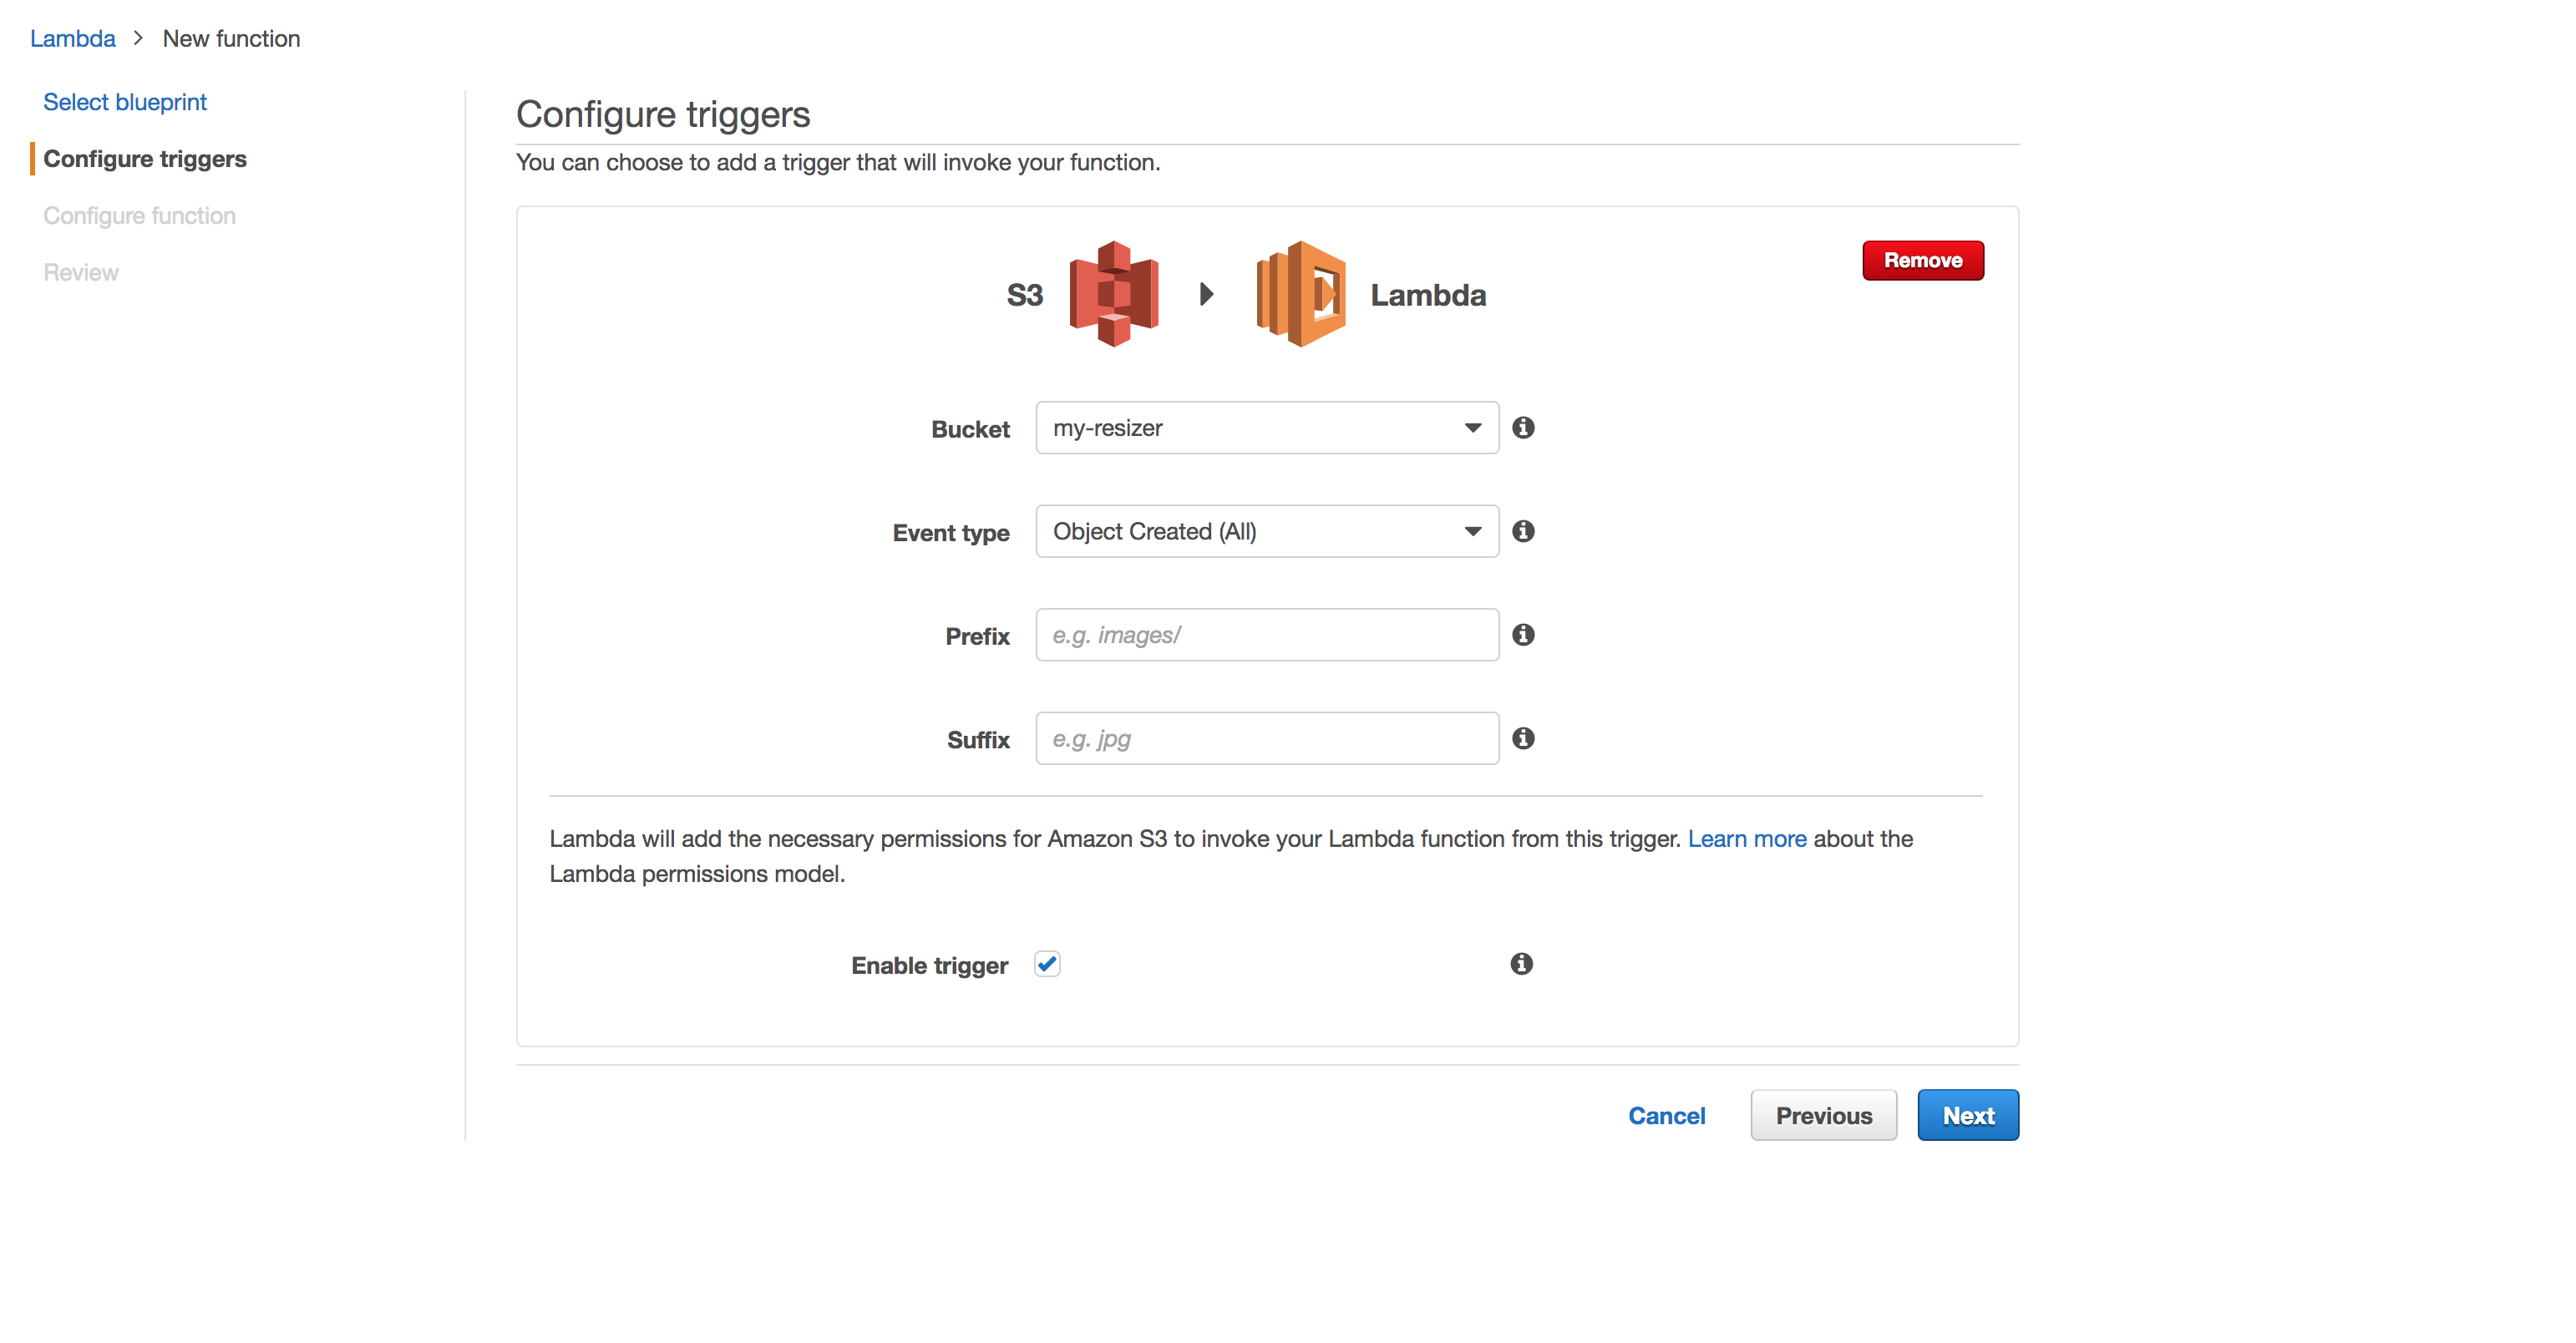
On the next page, select S3 as the function trigger. Some options will appear. Select the my-resizer as the bucket and in Event type, Object Created (all). This configurations means that any object created inside this bucket will execute our future code.
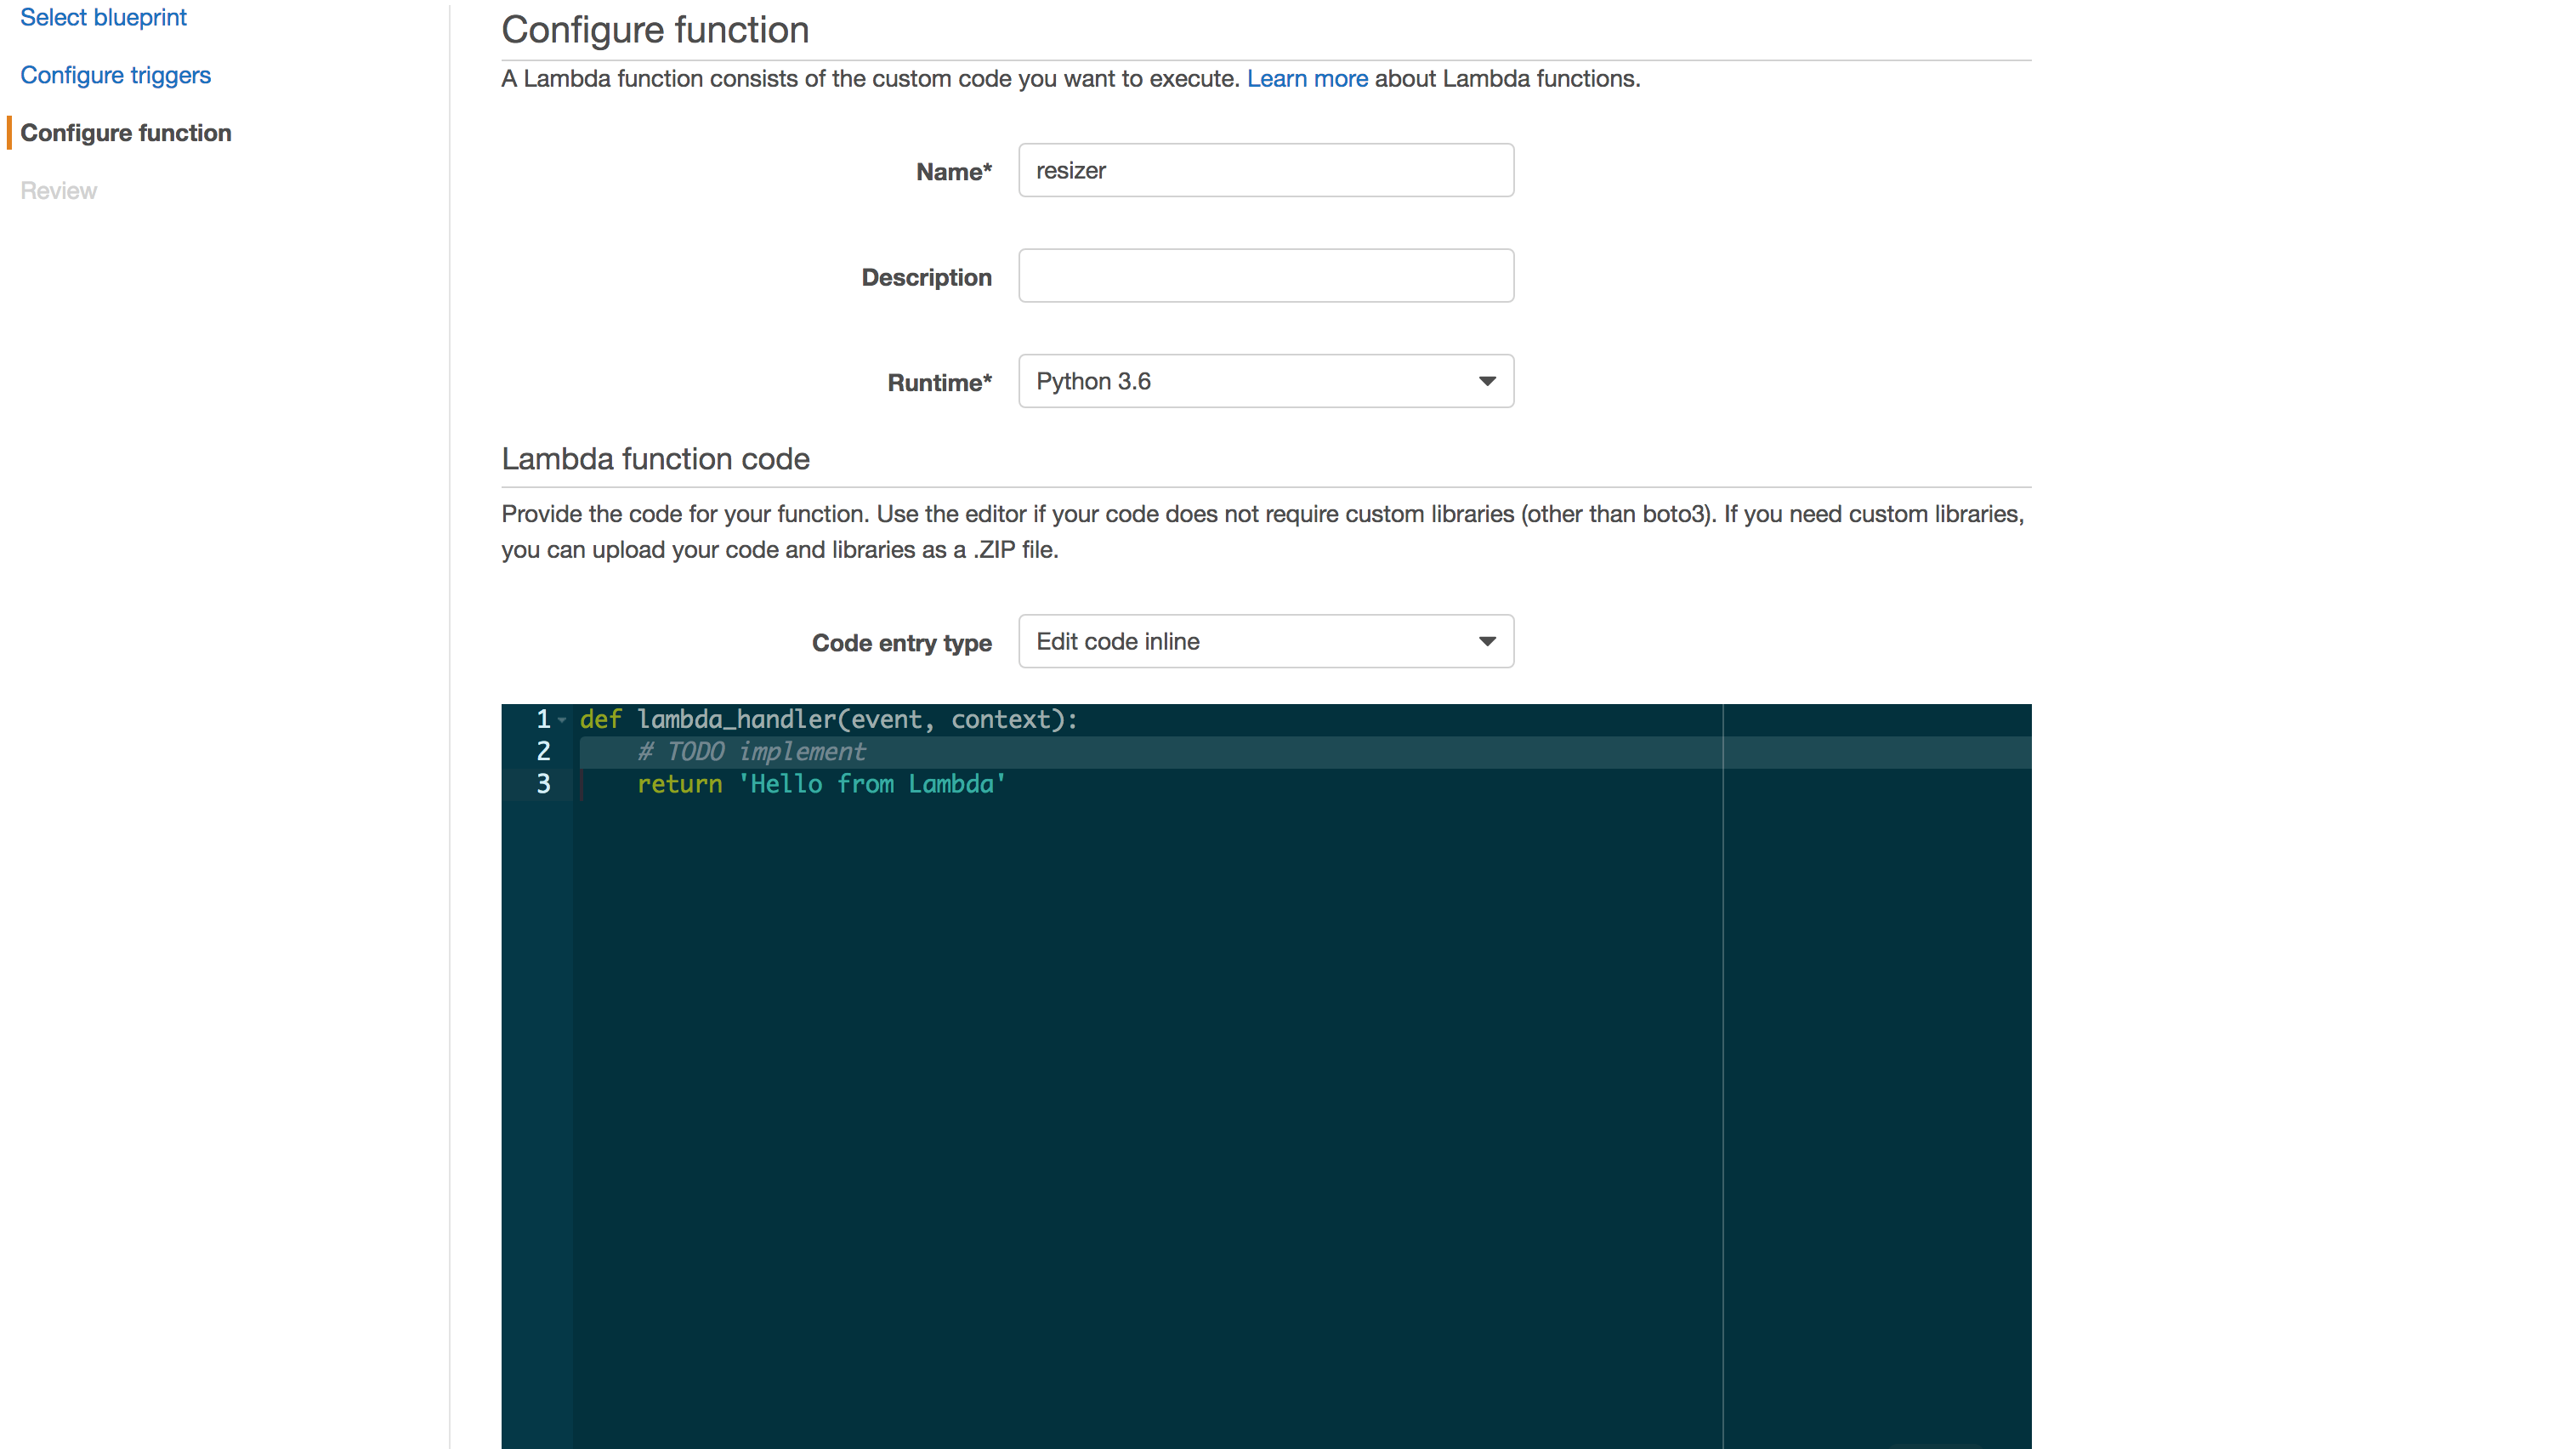
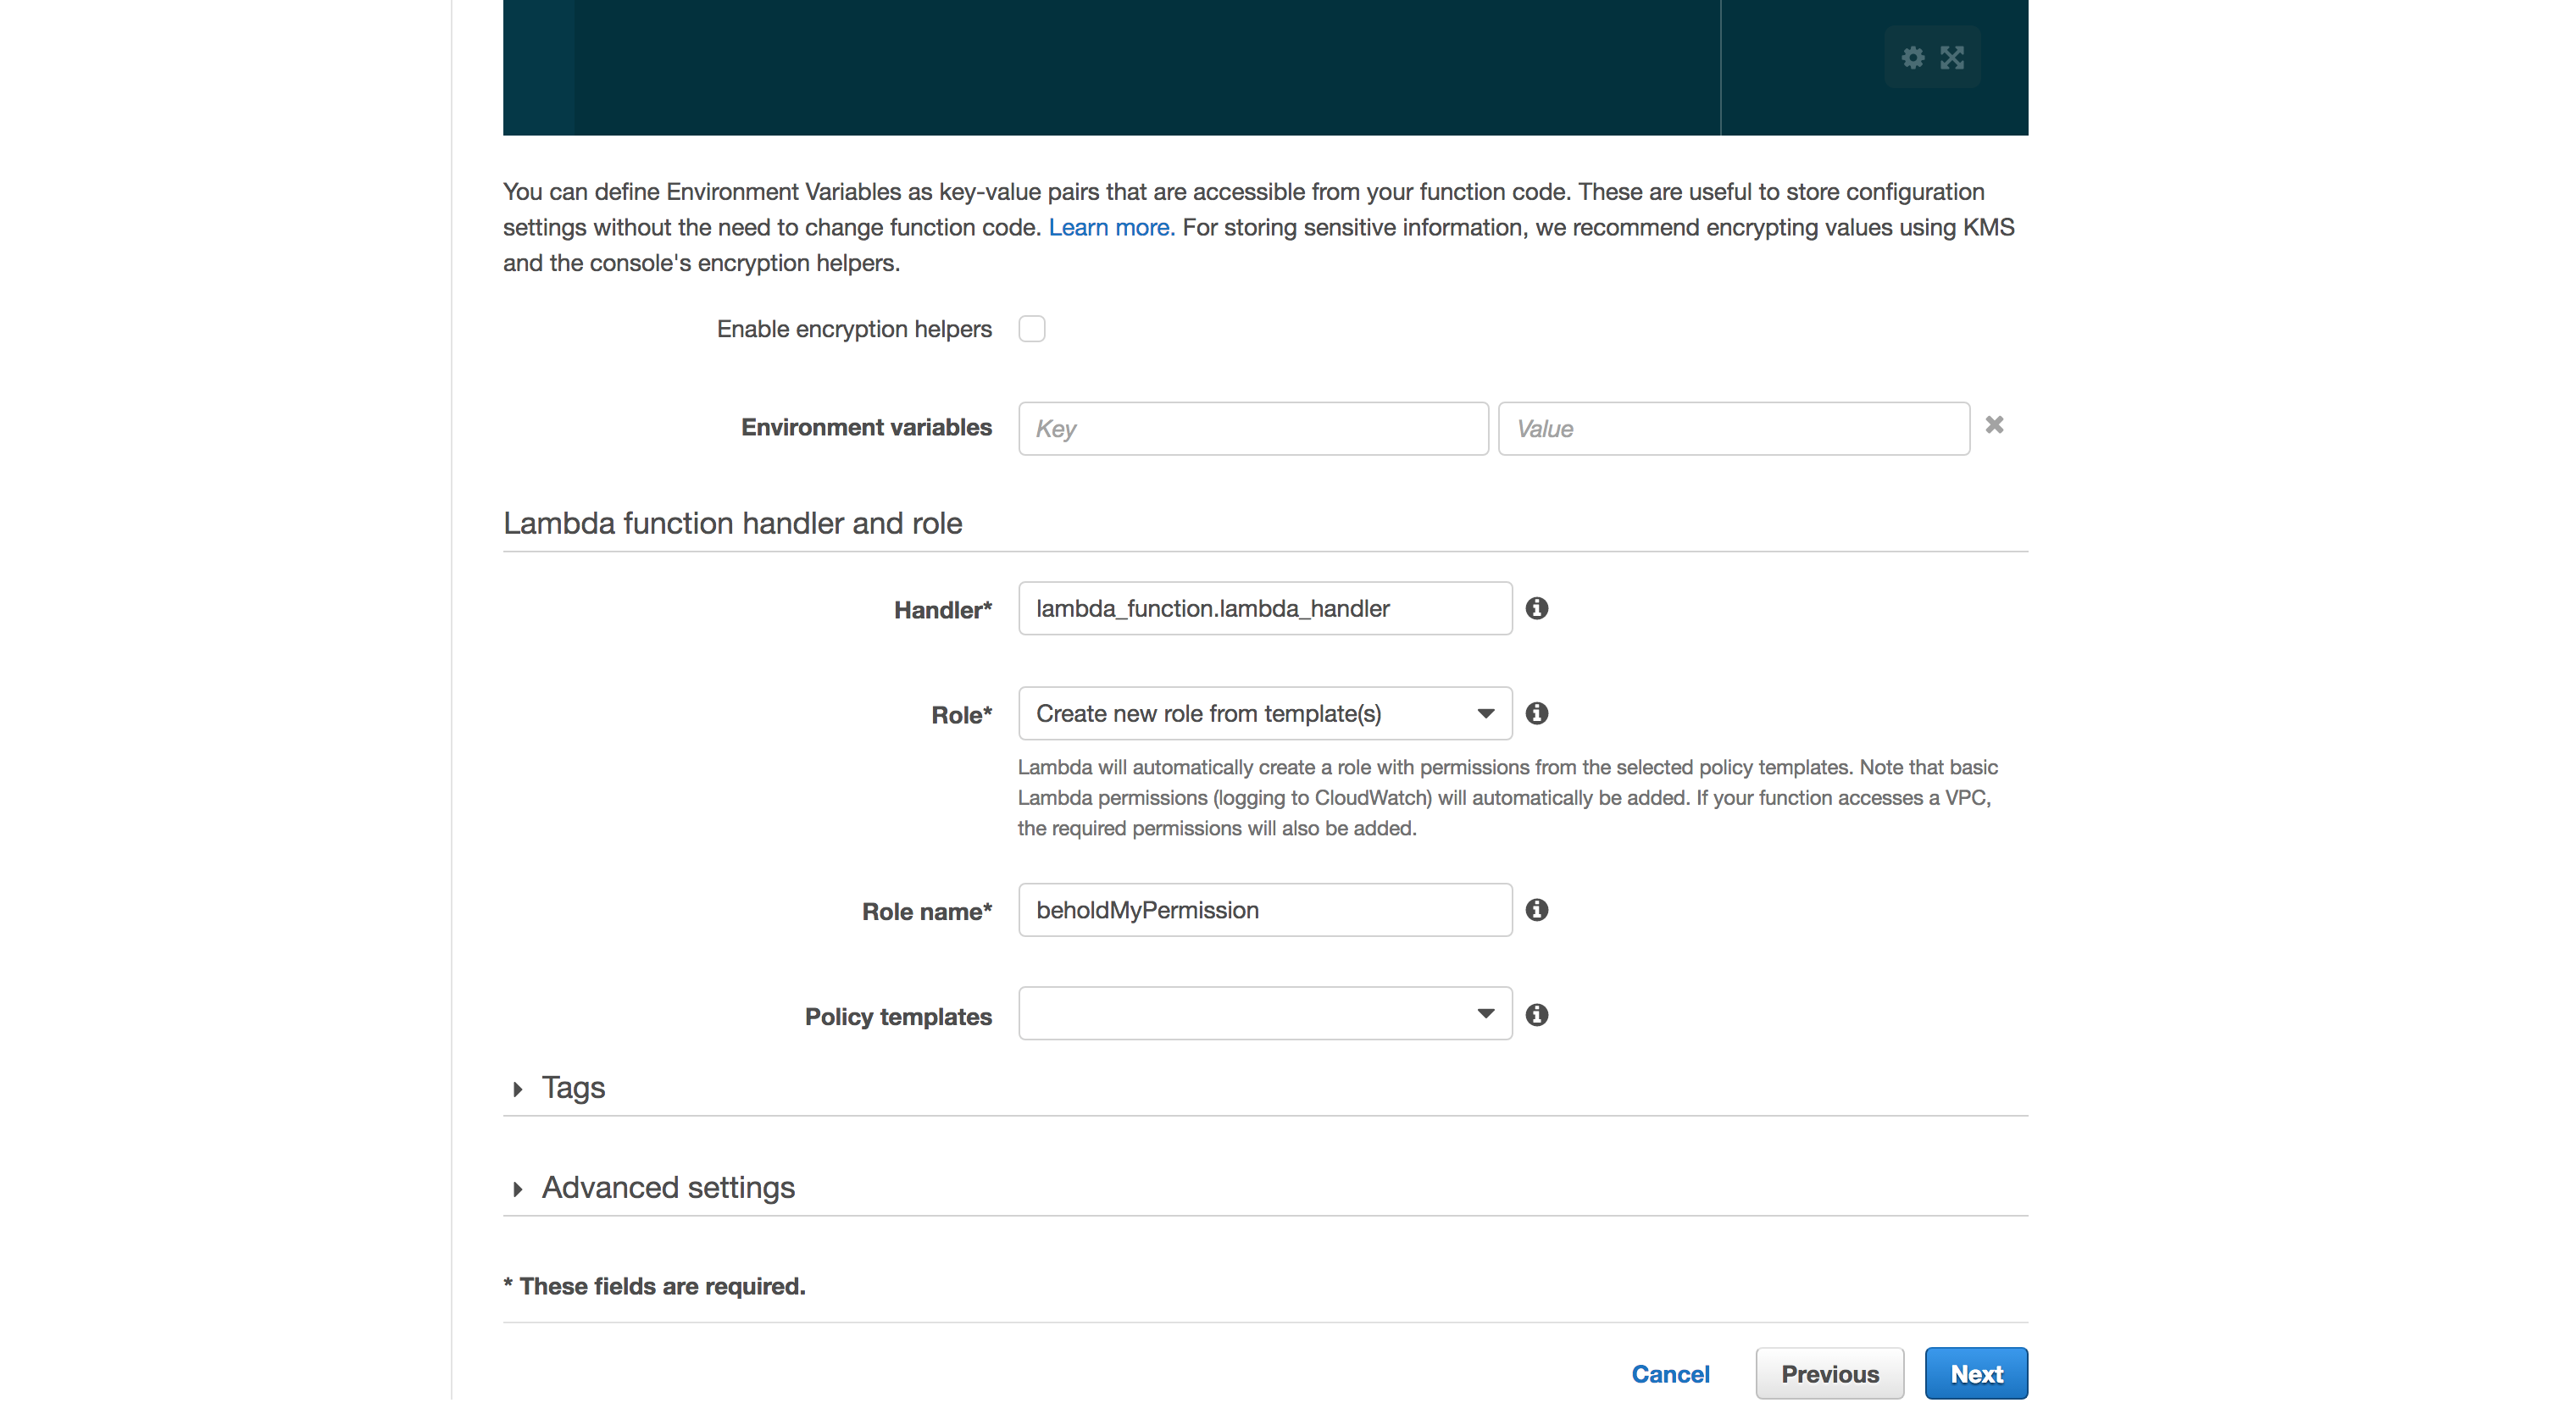
Now it’s time to create our function! On the following page, choose a Name and select the Runtime as Python 3.6 – because Python is amazing. You can leave the default editor code, we will change it soon. Scrolling bellow, we need to set a Role, it will hold all permissions needed to execute the function. For now, let’s stick with Create new role from template(s), it should automatically identify what we need. Also, give it a cool name, like beholdMyRole. Moving on!
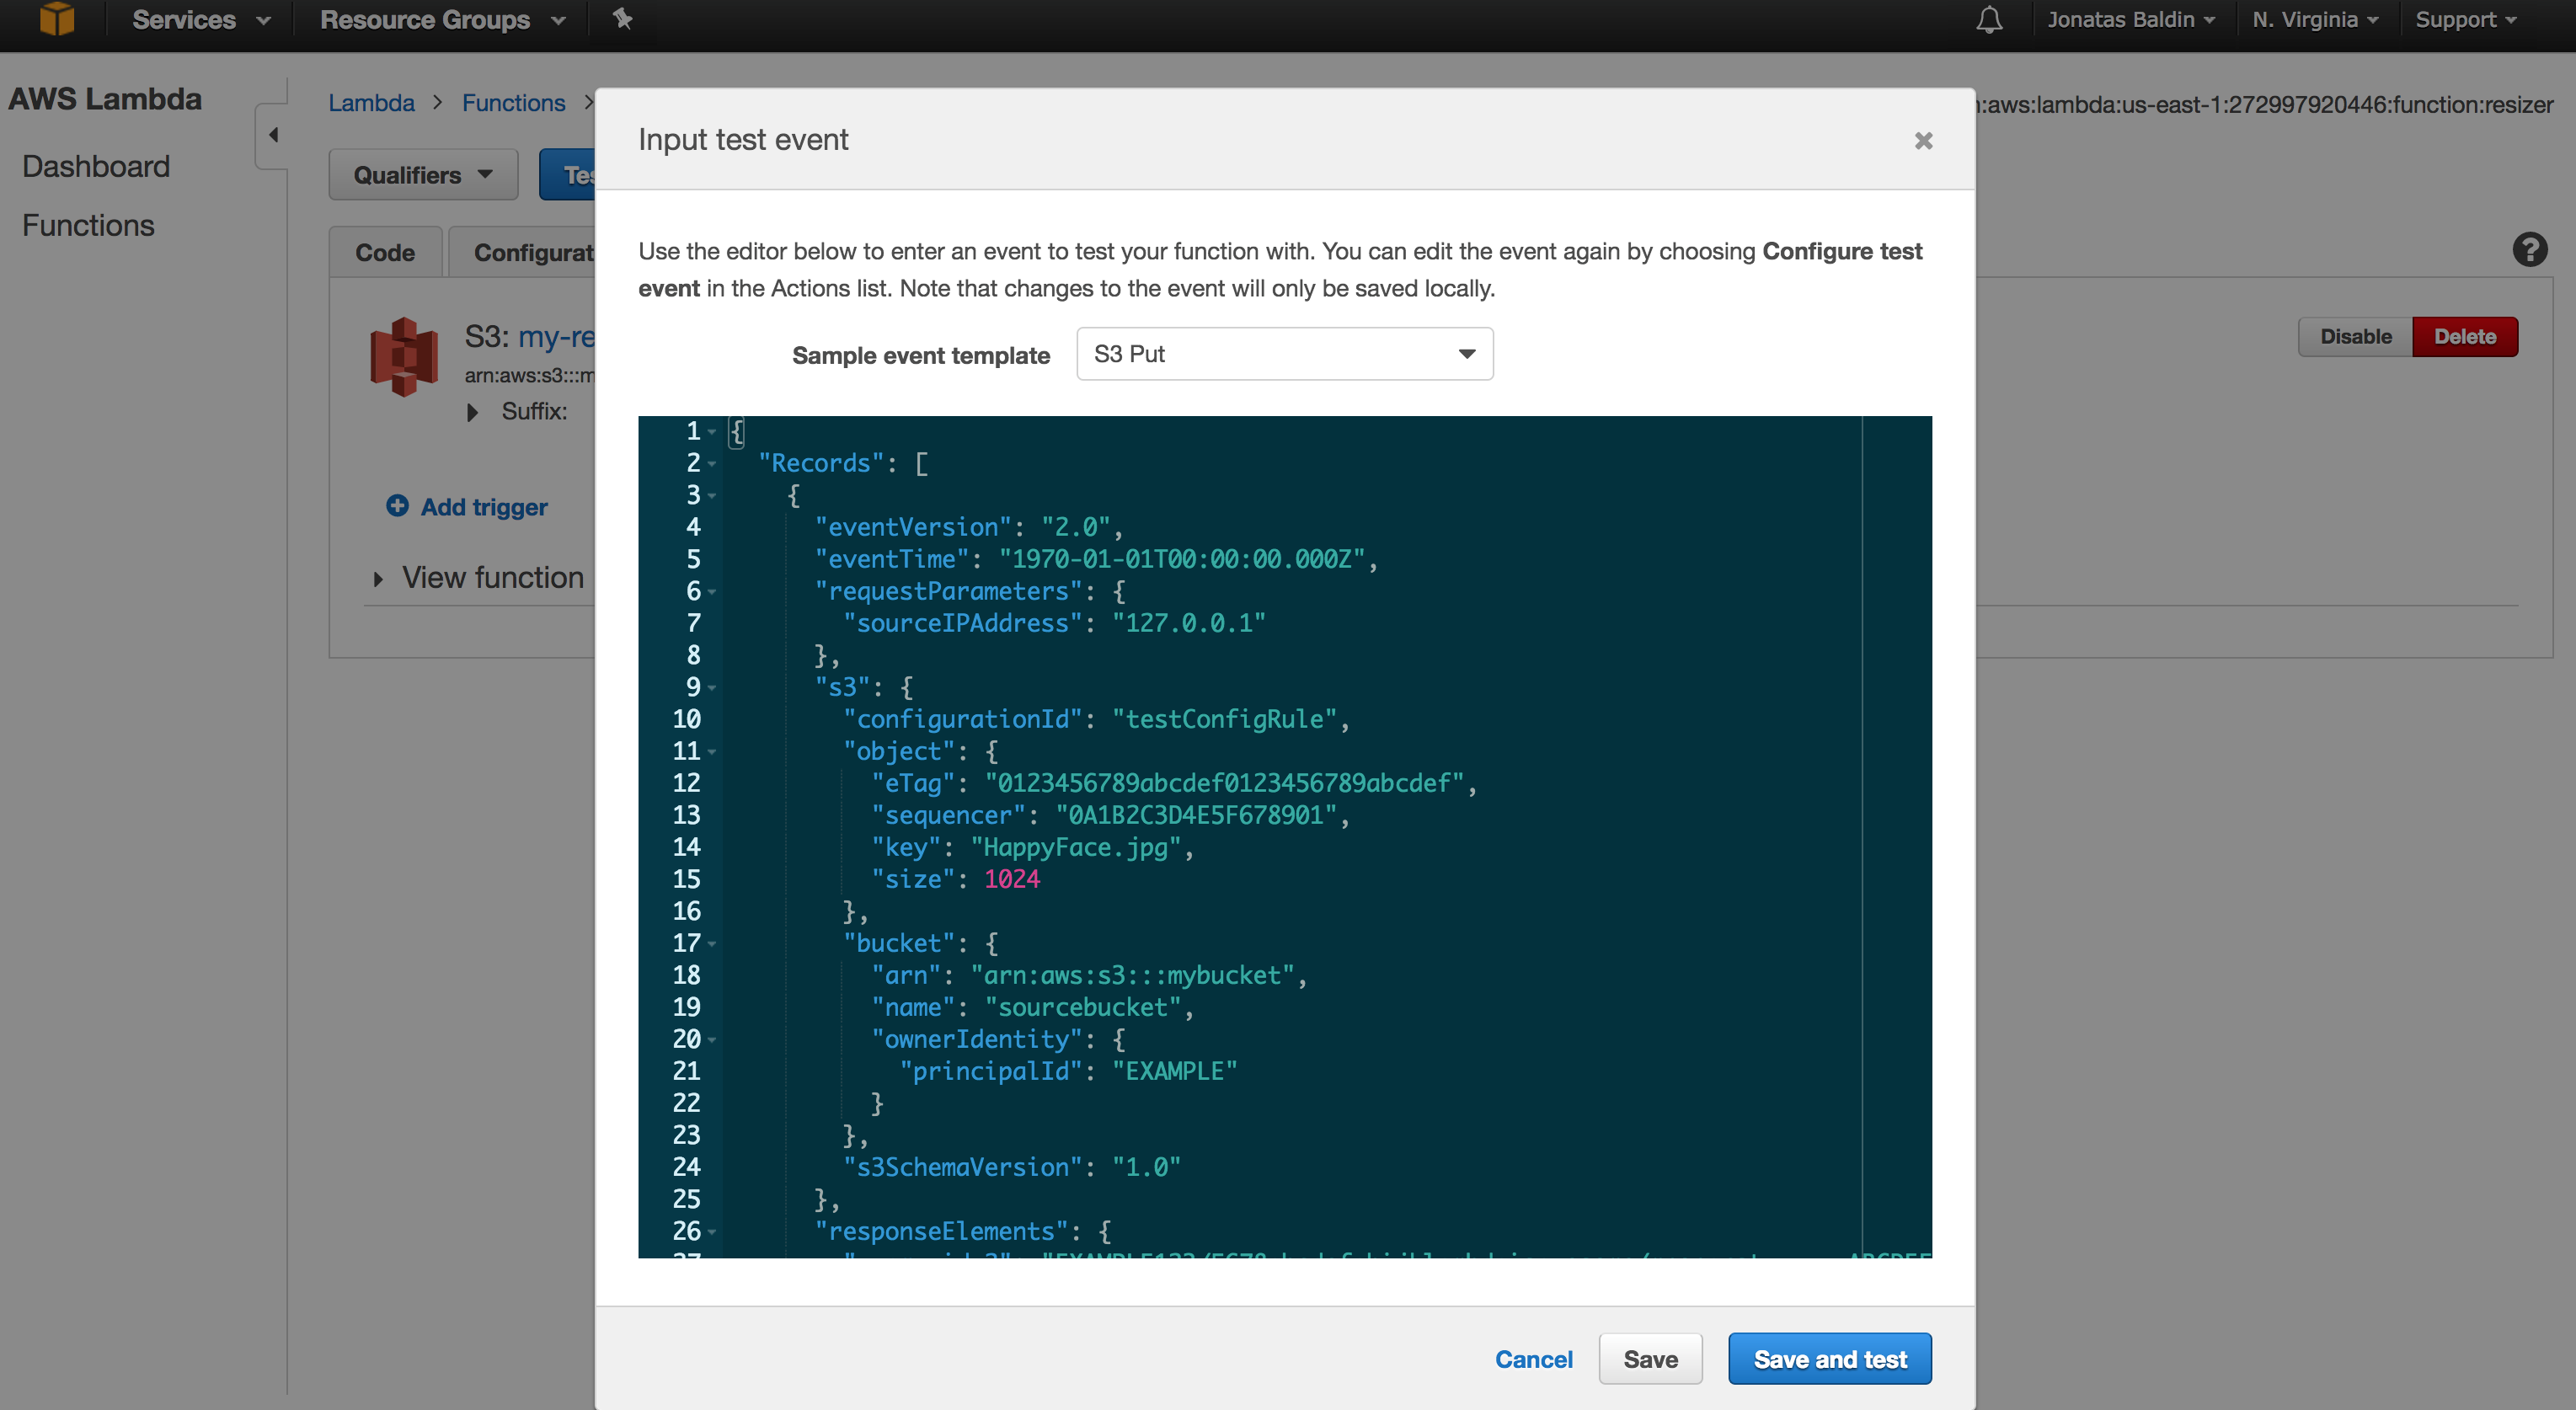
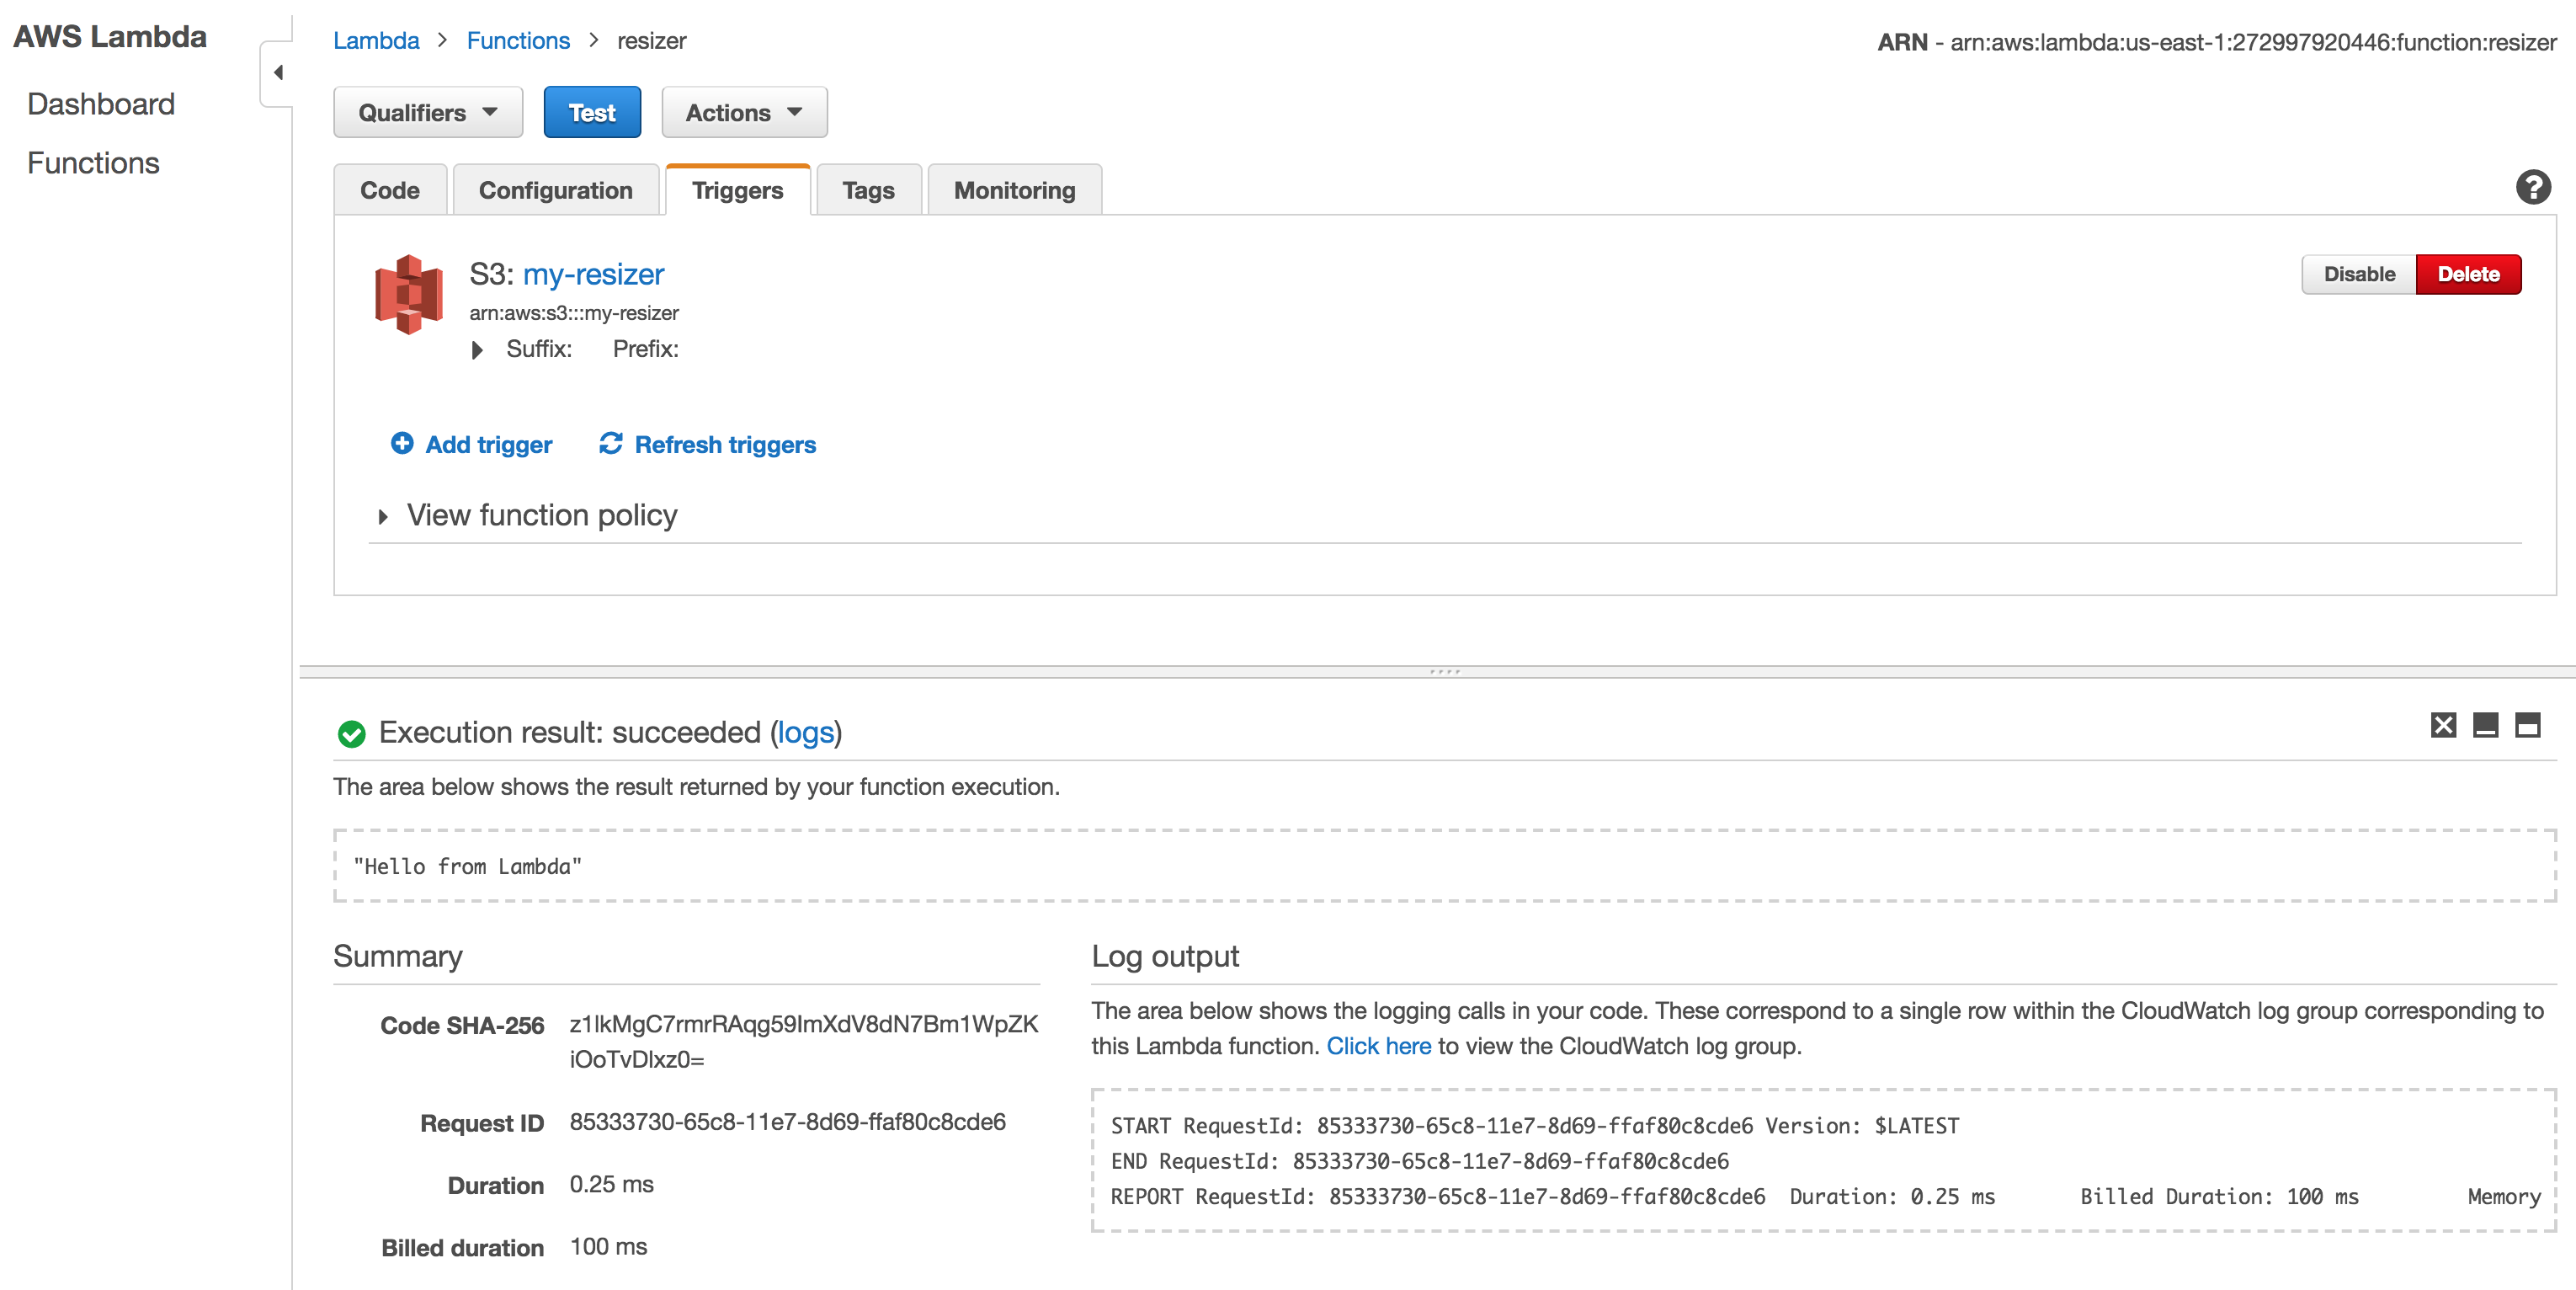
Our function is deployed, sweet! In the next screen, click on Test. A modal will open. There, you can select an event source template, the data our function will receive as an argument to be executed. Just for fun, go ahead and choose S3 Put. The JSON displayed is what the Resizer will be given at every object uploaded to my-reizer. Click on Save and Test.
We just invoked our function for the first time, hurray! As a result, we have some logs, stats and the Hello from Lambda return. Take a moment to explore this place, it has all the nitty-gritty of AWS Lambda.
Exploring AWS Lambda
Logs are important, specially in an environment without inside access. That’s why for every function created, AWS will also create a Log Group in CloudWatch. All code printed to stdout and stderr will be logged there, so make sure you are always taking a look at it.
It’s Python time! Well, our platform has a Python interpreter, right? I wonder what it has by default… Let’s explore it! Put this snippet of code in the Lambda editor and click on Save and Test.
import os
import platform
def lambda_handler(event, context):
    print('Hi, I'm your function!')
    print('#' * 80)
    print('These are my environment variables:')
    for key, value in os.environ.items():
        print(key + ': ' + value)
    print('#' * 80)
    print('There are the packages I already have:')
    for dist in __import__('pkg_resources').working_set:
        print(dist.project_name.replace('Python', ''))
    print('#' * 80)
    print('This is my platform details:')
    print(platform.uname())
    print('#' * 80)
    print('These are my CPUs:')
    with open('/proc/cpuinfo') as f:
        for line in f:
            if line.strip():
                if line.rstrip('n').startswith('model name'):
                    model_name = line.rstrip('n').split(':')[1]
                    print(model_name)
    print('#' * 80)
    print('These is my memory:')
    with open('/proc/meminfo') as f:
        for line in f:
            if line.split(':')[0] in ['MemTotal', 'MemFree', 'MemAvailable']:
                print(line.split(':')[0] + ': ' + line.split(':')[1].strip())
    print('#' * 80)
    print('Thanks!')
You should see a lot of nice information on the Log output section. That’s how our AWS Lambda looks like! :emoji:
What about the event and context arguments? The event has all information necessary from the source trigger, it could be data about a uploaded S3 file, for instance, and the context has information about the context of the function execution, more like meta-data.
S3 as the Event Source
Lambda functions just sit there, waiting to be executed, but how does it happen? Well, they are triggered by an event. On our Save and Test, the event is us clicking that button, but a lot of AWS services can be used as source events, like API Gateway, Kinesis, and also S3, the one we choose earlier.
If you’ve made until here, congratulations! Take a break and grab a cup of coffee!
Let’s Create a Code Package!
If there’s anything developers protect as their child is their code editors, raising wars when people disagree between vim and emacs. To make everybody happy, let’s stop using the Lambda code editor and start developing locally. Now, we will actually code our image resizer.
On a file called lambda_function.py, write the following content:
import boto3
import PIL
from PIL import Image
from io import BytesIO
from os import path
s3 = boto3.resource('s3')
origin_bucket = 'my-resizer'
destination_bucket = 'my-resized'
width_size = 600
def lambda_handler(event, context):
    for key in event.get('Records'):
        object_key = key['s3']['object']['key']
        extension = path.splitext(object_key)[1].lower()
        # Grabs the source file
        obj = s3.Object(
            bucket_name=origin_bucket,
            key=object_key,
        )
        obj_body = obj.get()['Body'].read()
        # Checking the extension and
        # Defining the buffer format
        if extension in ['.jpeg', '.jpg']:
            format = 'JPEG'
        if extension in ['.png']:
            format = 'PNG'
        # Resizing the image
        img = Image.open(BytesIO(obj_body))
        wpercent = (width_size / float(img.size[0]))
        hsize = int((float(img.size[1]) * float(wpercent)))
        img = img.resize((width_size, hsize), PIL.Image.ANTIALIAS)
        buffer = BytesIO()
        img.save(buffer, format)
        buffer.seek(0)
        # Uploading the image
        obj = s3.Object(
            bucket_name=destination_bucket,
            key=object_key,
        )
        obj.put(Body=buffer)
        # Printing to CloudWatch
        print('File saved at {}/{}'.format(
            destination_bucket,
            object_key,
        ))
If we zip this code and upload it to Lambda, would it work? Unfortunately, no. As we can see, it depends on PIL, a library for manipulating images that it is not on the Lambda environment nor on the standard Python Library. How can we fix this?
My first thought (and the AWS documentation) says that we should create a virtual environment, install everything we need there and zip it all together. Now, would it work? Also no. The issue with PIL is that it’s C compiled when installed, meaning that the version you’ve installed (with compilation) on your machine won’t run in the Lambda environment. How can we fix this?
Using Python Wheels! Wheels are the new standard of python distribution and are intended to replace eggs. It creates Wheels packages ready to run in a wide range of platforms. Since Lambda runs on the Amazon Linux Distribution, we can try this version.
After downloading it, extract on the same directory as the lambda_function.py file and zip it all together!
$ ls
Pillow-4.2.0-cp36-cp36m-manylinux1_x86_64.whl lambda_function.py
$ unzip Pillow-4.2.0-cp36-cp36m-manylinux1_x86_64.whl && rm Pillow-4.2.0-cp36-cp36m-manylinux1_x86_64.whl
...
$ zip -r code.zip .
...
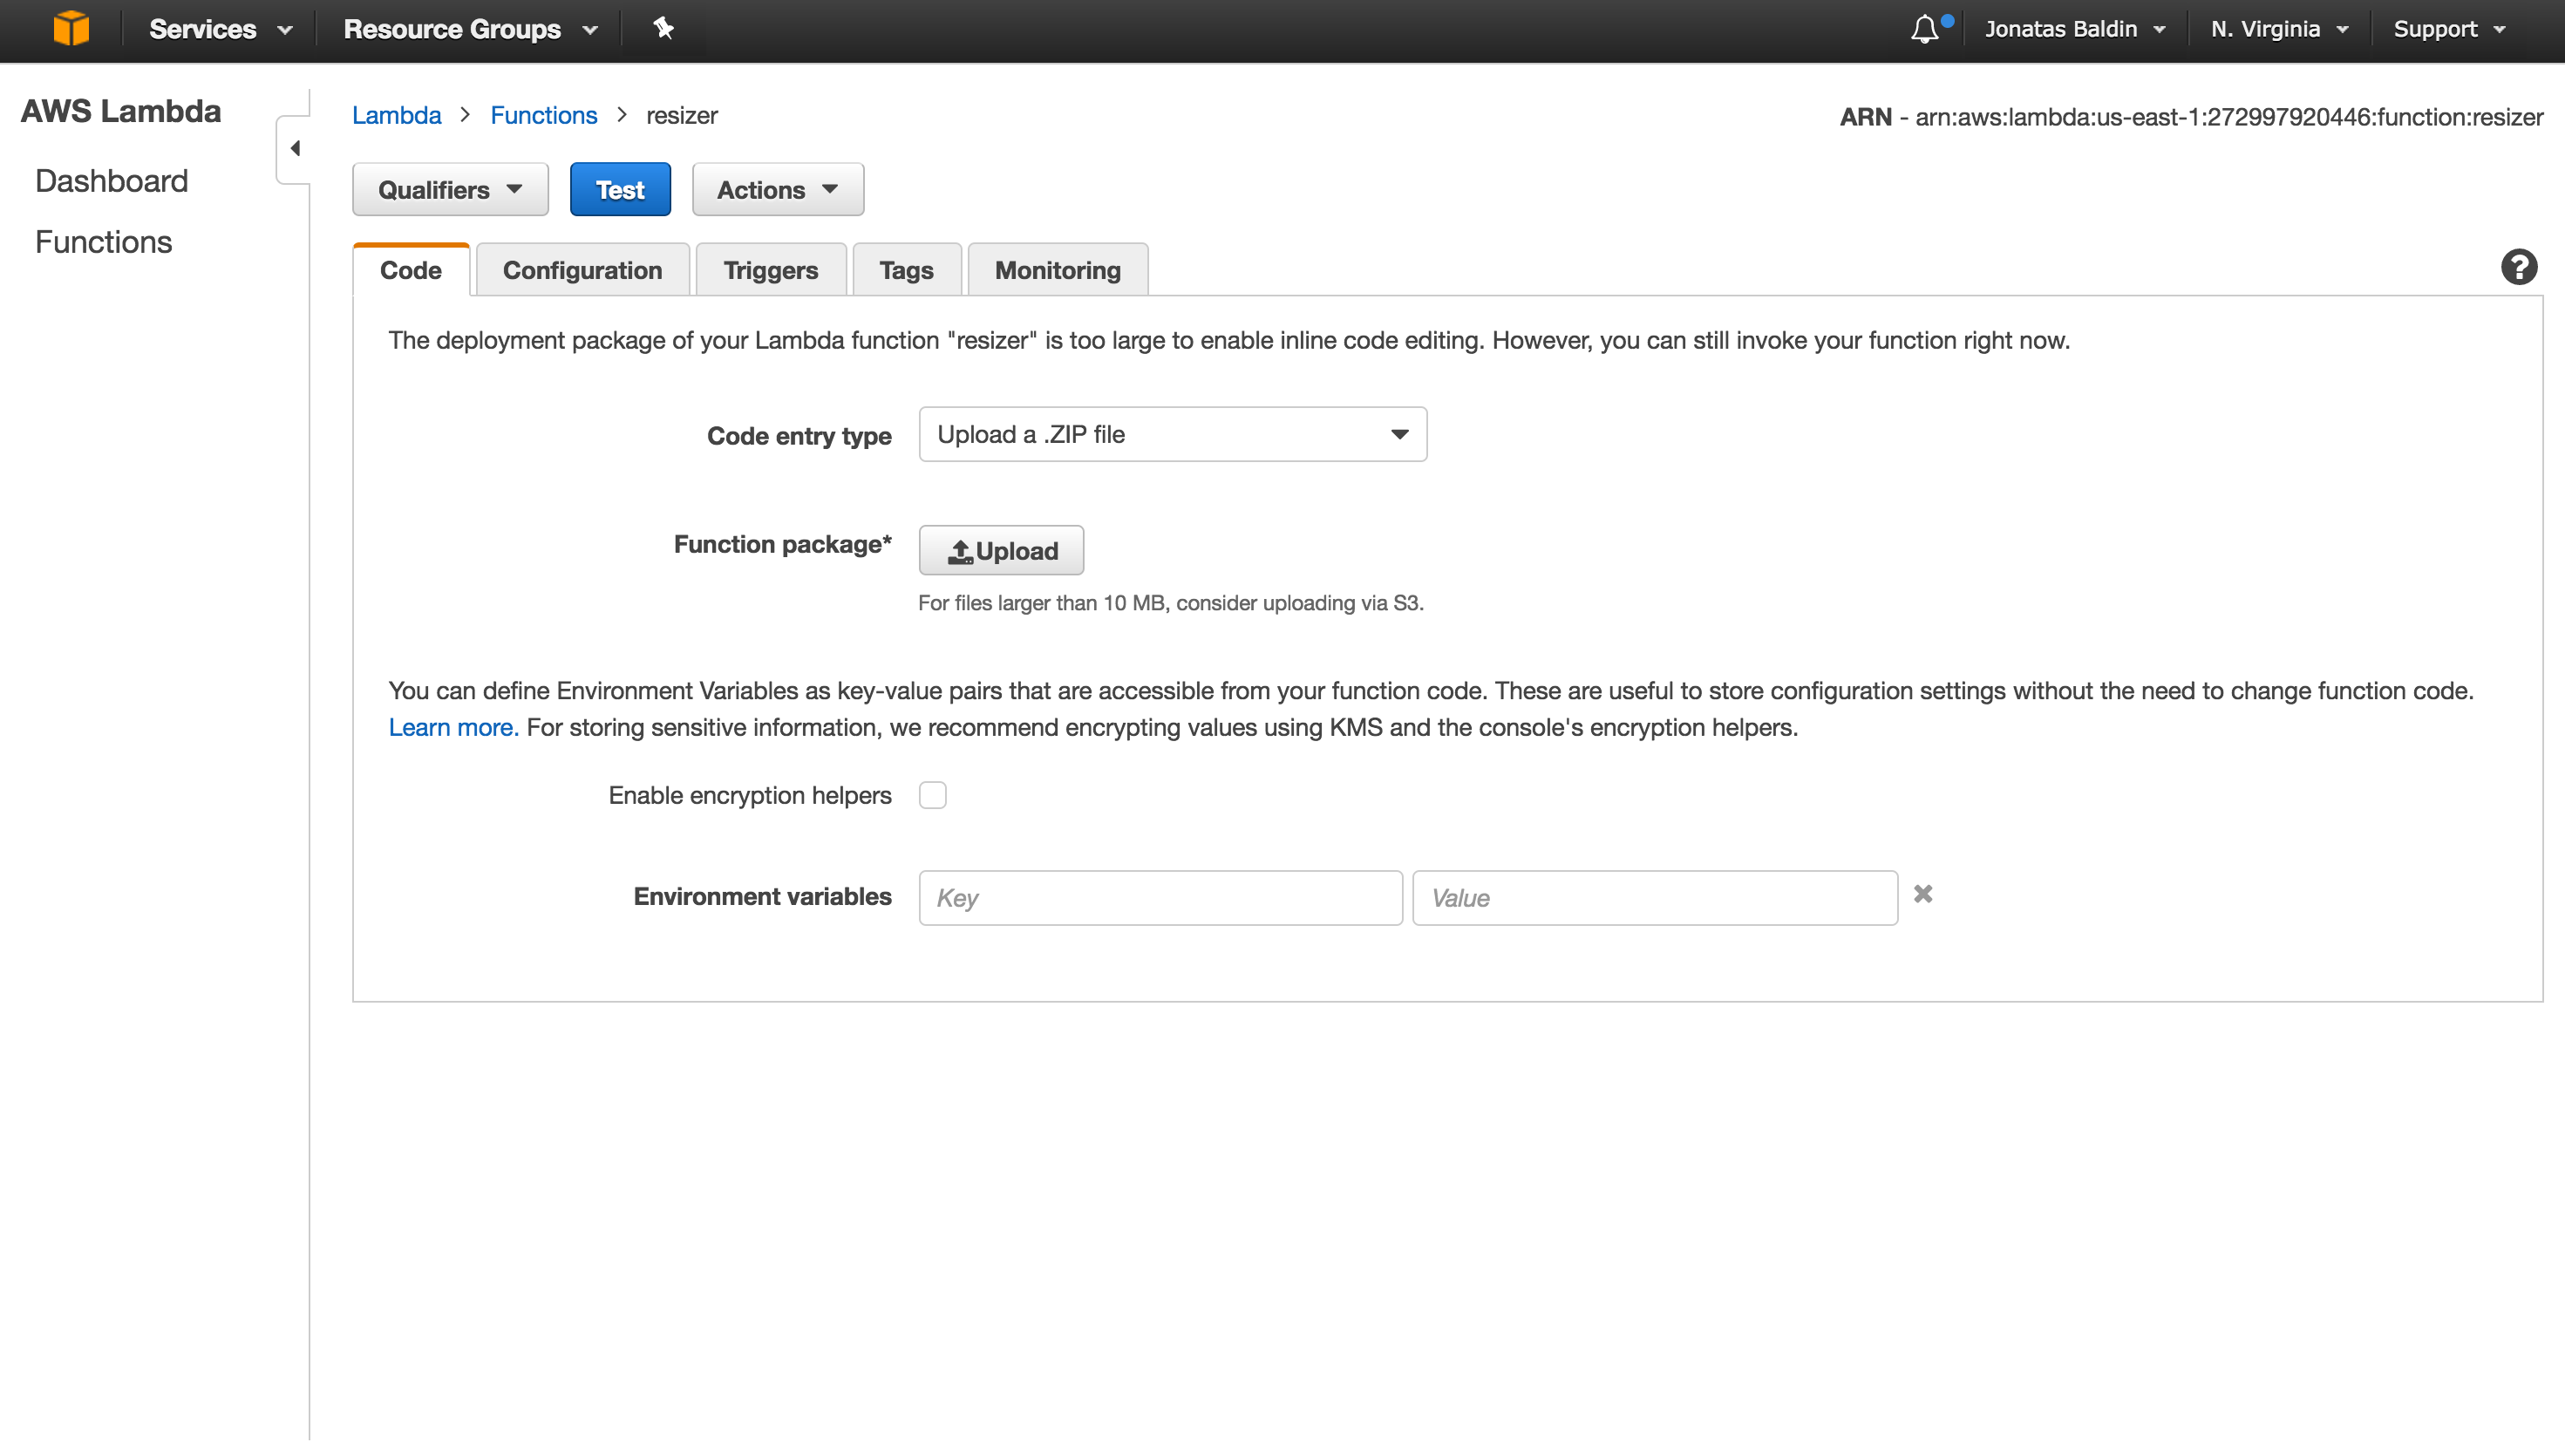
On the AWS Lambda dashboard and in the Code tab, choose to Upload a .ZIP file and select the code.zip file created. To test it, just upload an image to your S3 source bucket, you will see a resized copy on the destination bucket! Cool, right? You can also go to the CloudWatch group logs and see the print output there.
Wow, that’s a lot!
Indeed it is! Going though the web interface and packaging all the code by hand isn’t really the best way to develop software. Thinking about that, I made a little improved version of the sample code presented here, called resize4me. It includes a little Flask interface and its deploy is automated with Zappa, which I’ll be writing about on the next article.